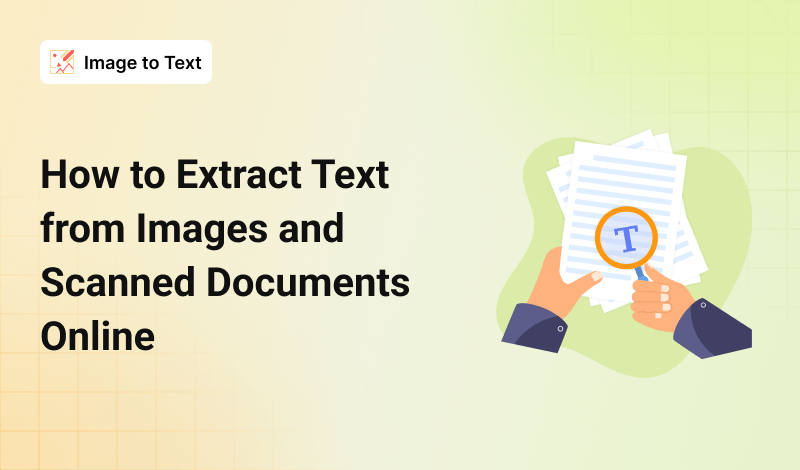
How to Extract Text from Images and Scanned Documents Online

Updated at:


What if you could turn an image or scanned document into editable text without having to download any dedicated software? As more tools move to the cloud, installing software is becoming less necessary, especially for simple tasks like extracting text from images.
Today, users can perform image-to-text conversions online. In this blog, we’ll discuss two easy ways to extract text from images online. Read on to learn how to use them effectively.
2 Easy Ways for Extracting Text from Images and Scanned Documents Online
Below, we have discussed a couple of reliable methods for converting images and scanned documents into editable text online.
1. Use Imagetotext.cc
Imagetotext.cc is an online tool that can extract text from images, scanned documents, invoices, and even handwritten notes into editable text.
It is free and simple to use. Apart from that, the tool supports text extraction in multiple languages, accepts images in different formats (e.g., PNG, JPG, JPEG & more), and can process multiple images at once.
In the steps below, we will use it for demonstration.
- Upload the Image:
Visit imagetotext.cc and upload the required image. To do so, the tool provides numerous options, such as uploading the photo from your device, copying/pasting, or dragging/dropping.
Alert: Ensure your uploaded picture is of high-quality in terms of resolution, so that the tool doesn’t have to face any difficulties when detecting the text.
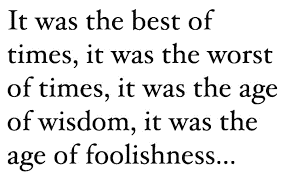
We will use the following image:
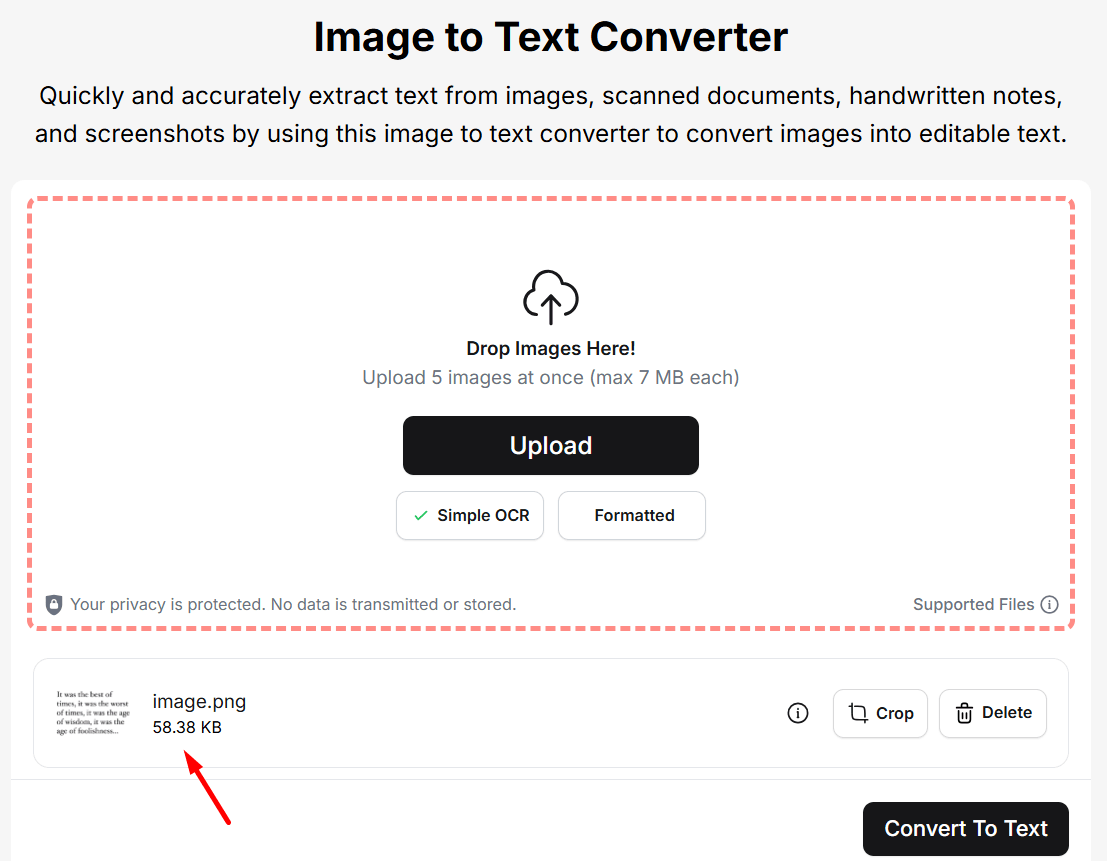
This is how the interface looks after uploading the image:
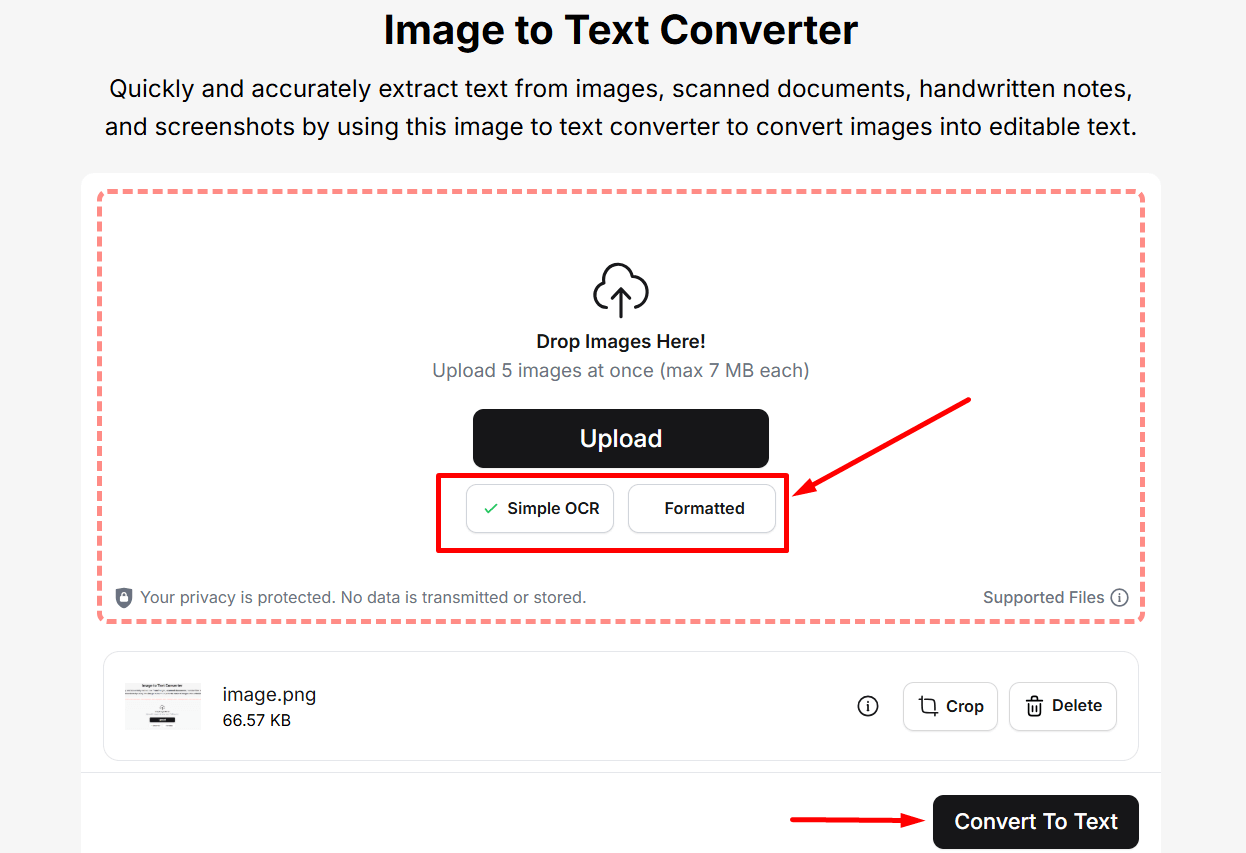
- Select OCR Mode and Start Conversion Process:
Imagetotext.cc offers two modes for text extraction: Simple OCR and Formatted.
The Simple OCR is automatically selected by default. It focuses on speed and basic accuracy. It may struggle to process images with complex formatting, such as tables.
The Formatted mode, on the other hand, attempts to preserve the original text structure of the image. It works quite well for images containing tabular data.
Once the selection is made, simply click on the “Convert to Text” button to initiate the process.
- Review, Copy, and Download Results:
Within a couple of seconds, the tool will come up with the extracted text in an editable format.
Below is the result we got in our case.
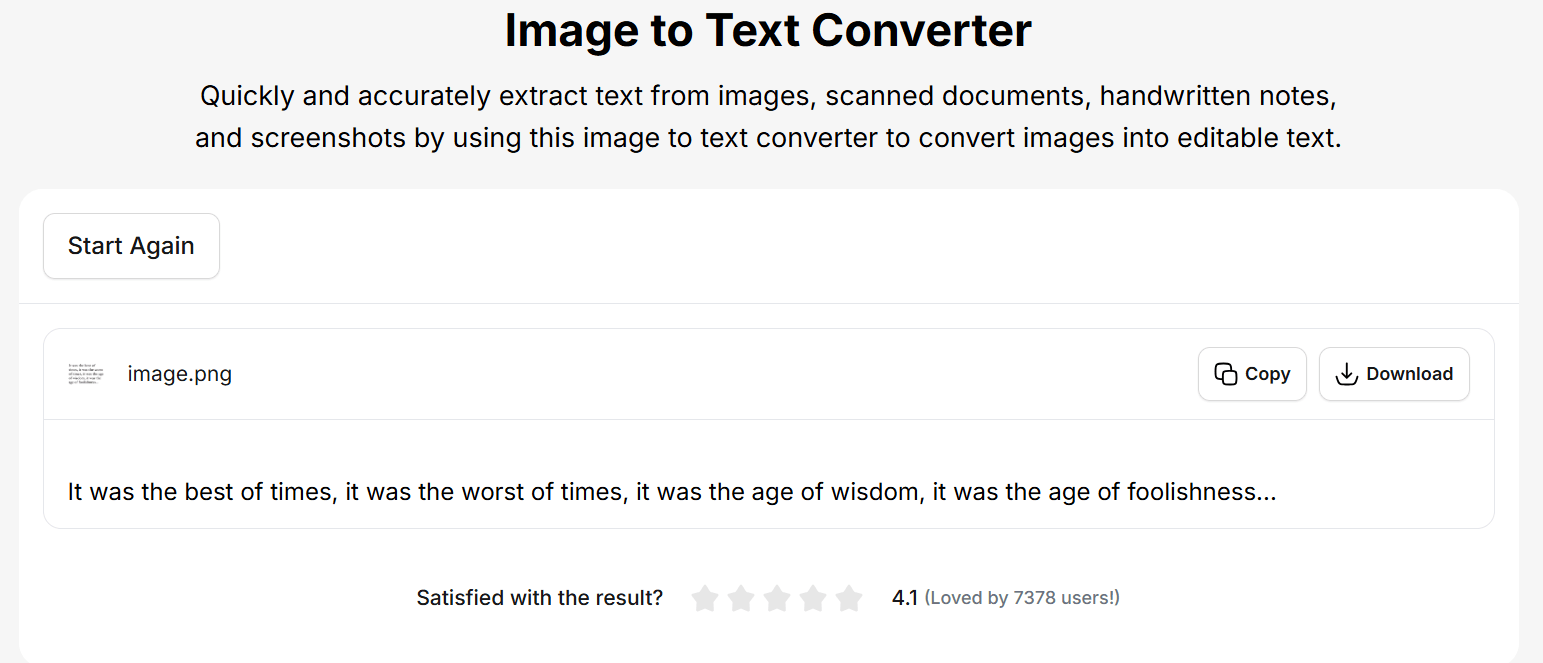
You can review the result and copy or download it for later use.
2. Use Google Drive
We all know that Google Drive is an online cloud storage platform that is used to store images, videos, documents, and other files. Besides this, it can also help extract text from images and scanned documents. This may sound unusual, but that’s actually true.
Below, we have discussed a step-by-step procedure that should be followed in this regard.
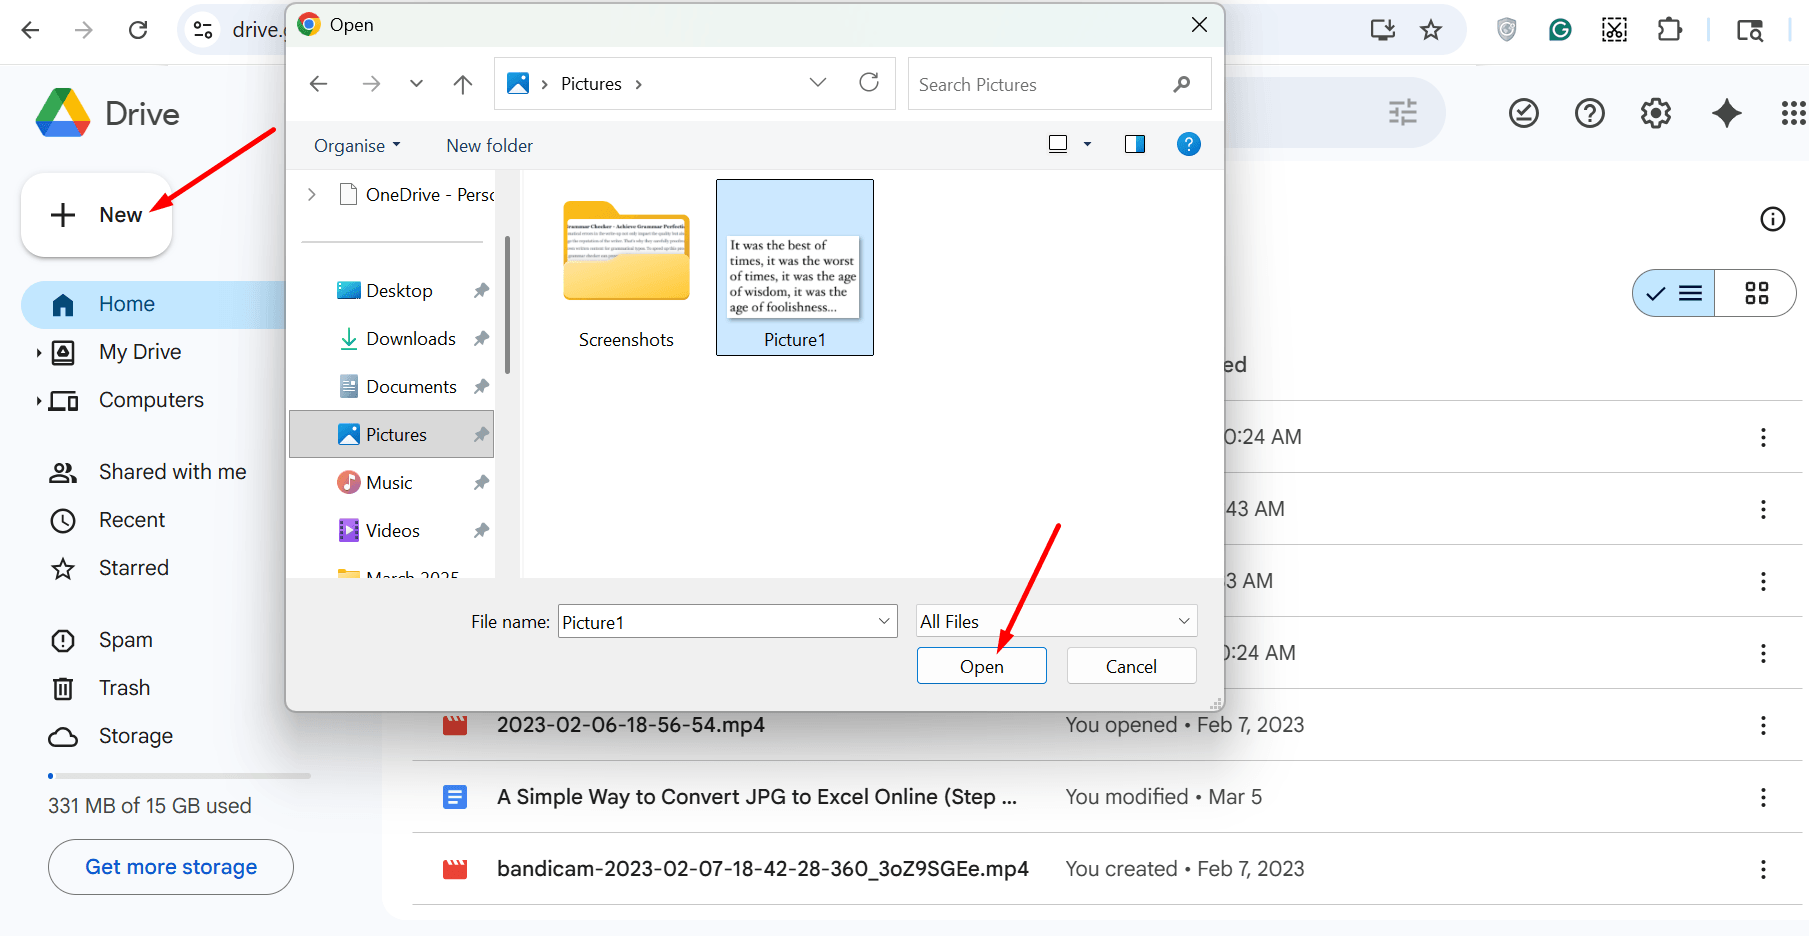
- Upload Picture on Google Drive:
Open Google Drive on your device. In case you are not signed in, you will first have to sign in. When opened, click on the “+” icon appearing at the top left side of Google Drive. Next, select “File Upload” to upload the image.
A screenshot is attached below for easy understanding.
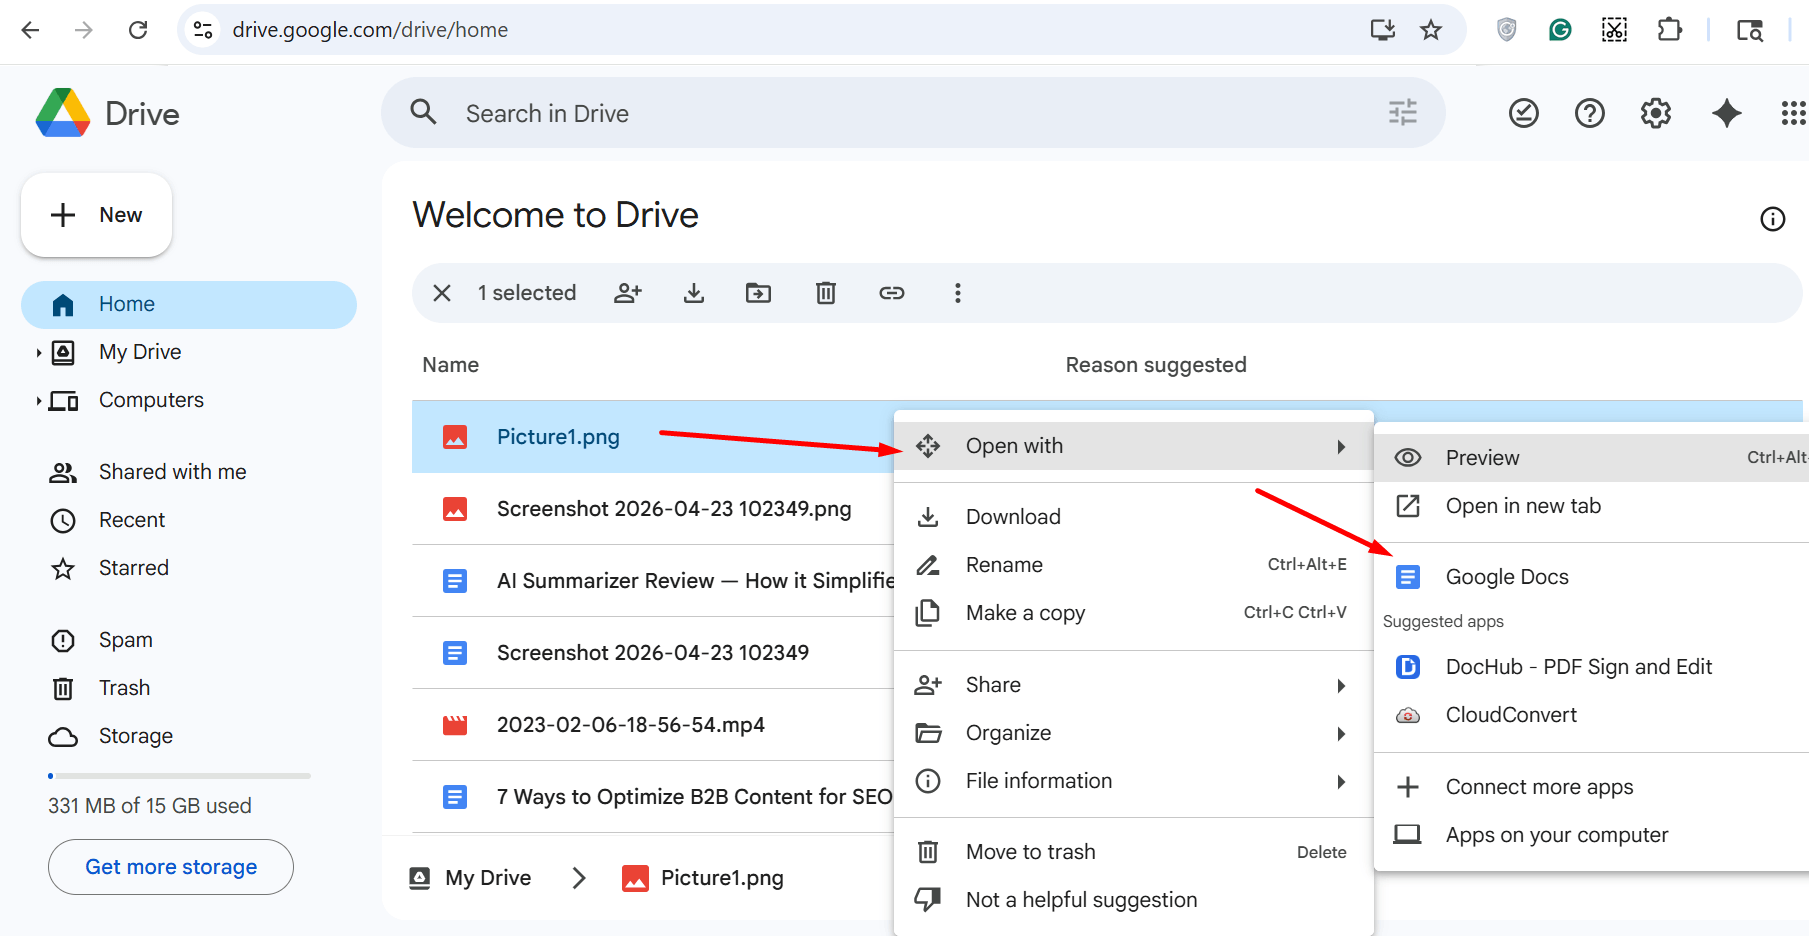
- Open Picture with Google Docs:
Now, right-click on the uploaded photo and select “Open With” from the menu. Next, click on “Google Docs.”
- Get the Extracted Text:
Depending on your internet connection and the amount of text your uploaded image contains, Google Docs will take some time to come up with the results. It will provide both the original image and the extracted text separately.
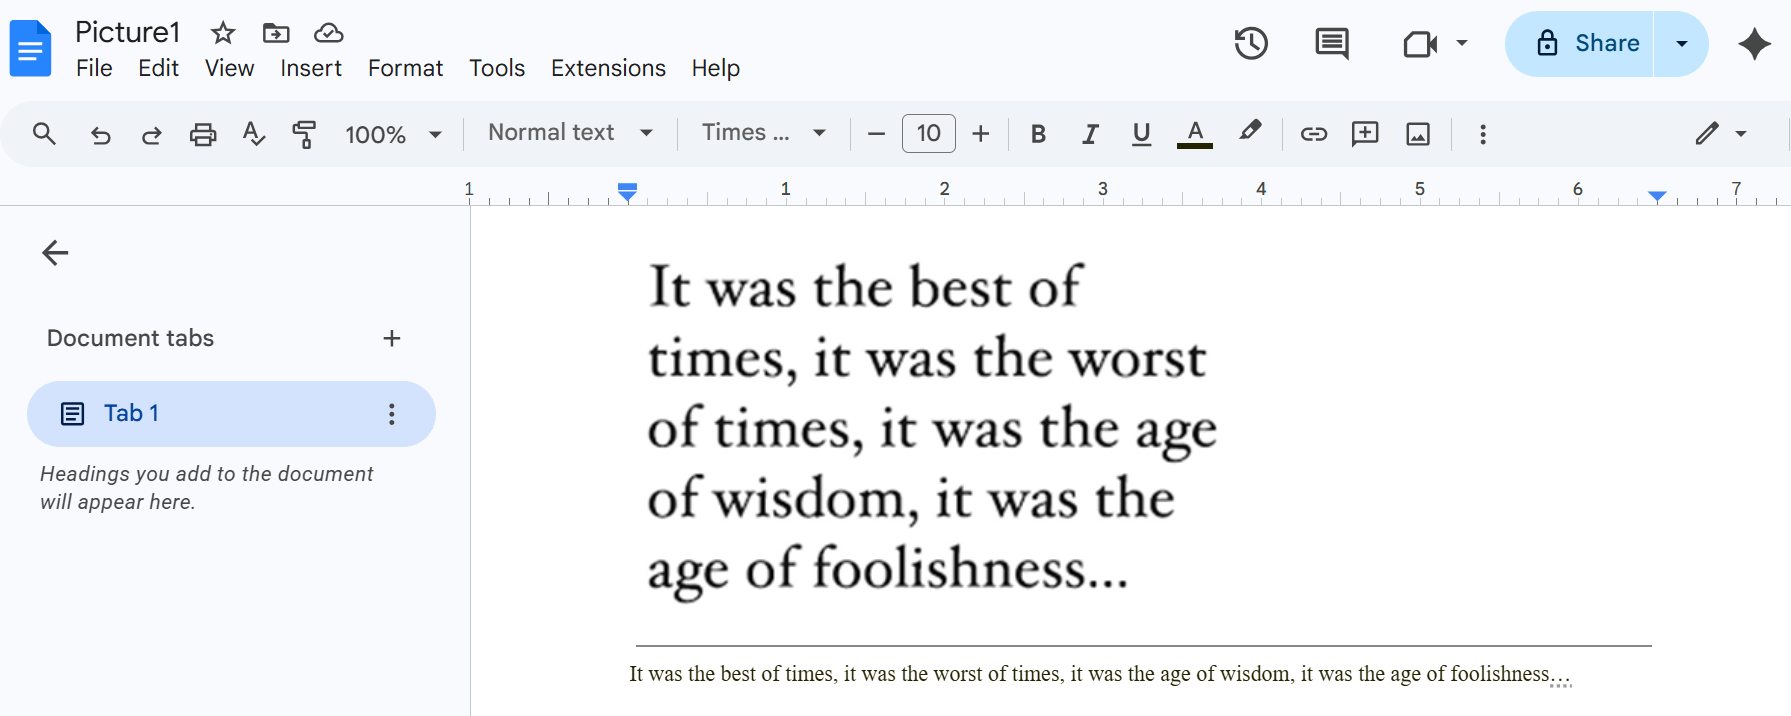
It is important to note that Google Docs does not offer a dedicated “Extract Text” button or feature, but the OCR feature is automatically applied when you open a text image with it. You need to follow the aforementioned process to get the job done.
So, these are two easy and quick solutions that you can use to convert photos and scanned documents into text online.
Final Thoughts
Extracting editable text from images and scanned documents no longer requires downloading dedicated tools or software. Now, easy solutions such as image to text converters and Google Drive allow users to perform image-to-text conversion online. Simply upload the picture, wait for a few seconds, and get results.
In this blog post, we have explained both these methods in a step-by-step procedure for a better understanding.
Other Blogs