How to Invert a Picture


Updated at:


What is Inverting a Picture?
Images are mainly made up of three fundamental colors: Red, Green, and blue (RGB). All three primary colors have a brightness value ranging from 0 to 255, forming the different shades and textures we see around us.
Now, imagine images as a grid of pixels, each of which can go from 0 to 255 (R, G, B). To invert an image would be to subtract all pixel values from 255, resulting in an entirely different color scheme.
Example:
The RGB values of (65, 105, 225) make the color ‘Royal Blue.’

However, (255 – 65, 255 – 105, 255 – 225) would result in a shade of ‘Golden’ with the RGB values (190, 150, 30)

But here’s the thing: to invert an image manually, you’ll need to subtract 255 from each pixel value, which can be cumbersome to say the least.
The Complete Process of Image Inversion
To quickly invert images, one must opt for automated tool options, similar to this Invert Image tool.
Such resources help process color inversion in seconds, allowing you to get the required artistic touch quickly and efficiently.
Normally, most online tool options follow a similar usage pattern. These steps are discussed below in more detail.
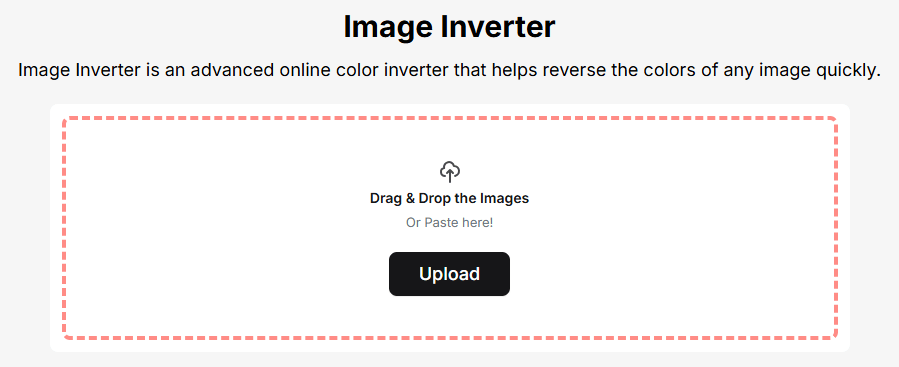
Upload the Required Pictures
First, you must select and upload the pictures to transform in the tool’s interface. You can either drag and drop the files or browse through your local directory. For demonstration purposes, we uploaded the following images for the color inversion process.
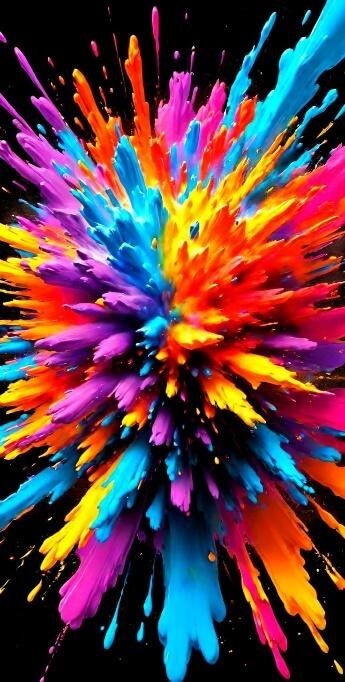
Image 1
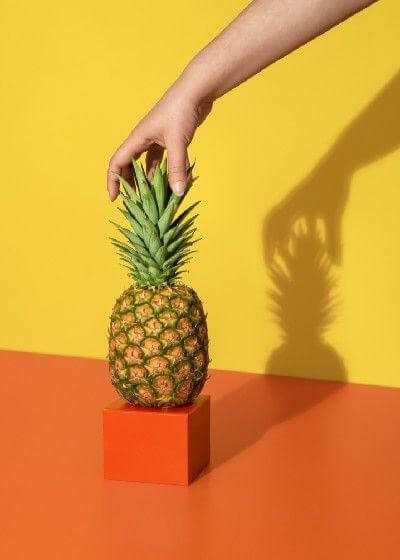
Image 2
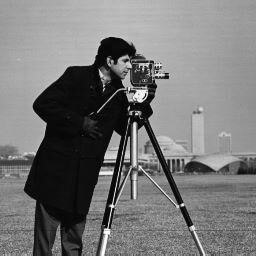
Image 3
Image 4
After uploading the files, you must get the following screen:

Invert Colors and Extract Outputs
Before you click on the ‘Invert’ button, you can crop the pictures if needed to adjust the focus area.
Also, notice that the number written in parentheses (4) shows the number of pictures you have uploaded for color inversion. Our tool allows conversion for up to 50 images at once.
Anyhow, below is the result we got from doing the aforementioned process.

Finally, you can download all the color-inverted Images to your device and use them according to your convenience.
Best Practices to Follow
Always Work with a Copy
Always duplicate your source picture and never overwrite original files with inverted ones to avoid permanent loss of data. This can save countless hours of back and forth, especially when making visually intensive projects.
Color Balance after Inversion
Inverted images are often harsh and look unnatural. Hence, to give your pictures the desired artistic feel, you must balance the colors manually after the inversion process. This will help you achieve accurate saturation, contrast, and brightness for your images.
Test across Multiple Devices
Finally, we recommend testing the inverted files on multiple devices and screen types. The reason to do this is that colors and contrasts can appear differently depending on the screen type in use, for example, OLED, IPS, or VA panels.
If you consider the mentioned best practices, you can surely uplift the quality of your projects and satisfy clients in no time.
Final Thoughts
In this post, we uncovered the science behind color inversion. Then, we learned that the automated tools and resources are much better at doing this process than humans.
Later, we saw our Image Inverter in action and the detailed process of how to invert a picture with ease.
At last, we reviewed some best practices that you must follow for the inversion process to be a success.